Entering & Managing Donations from the TYR Home Screen
On this page are instructions for adding, editing, and deleting donations directly from the TYR Home screen.
Note: You can also add, edit, and delete Donations using the PCO screen, explained on the page entitled Adding & Managing Donations from the PCO screen in the PEOPLE, COMPANIES, & ORGANIZATIONS section.
Adding a Donation from the TYR Home Screen
-
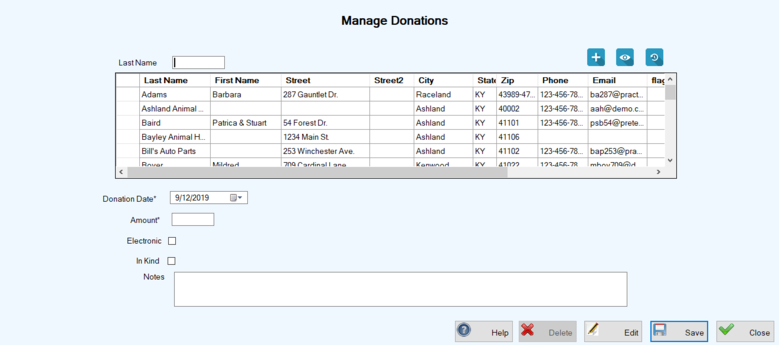
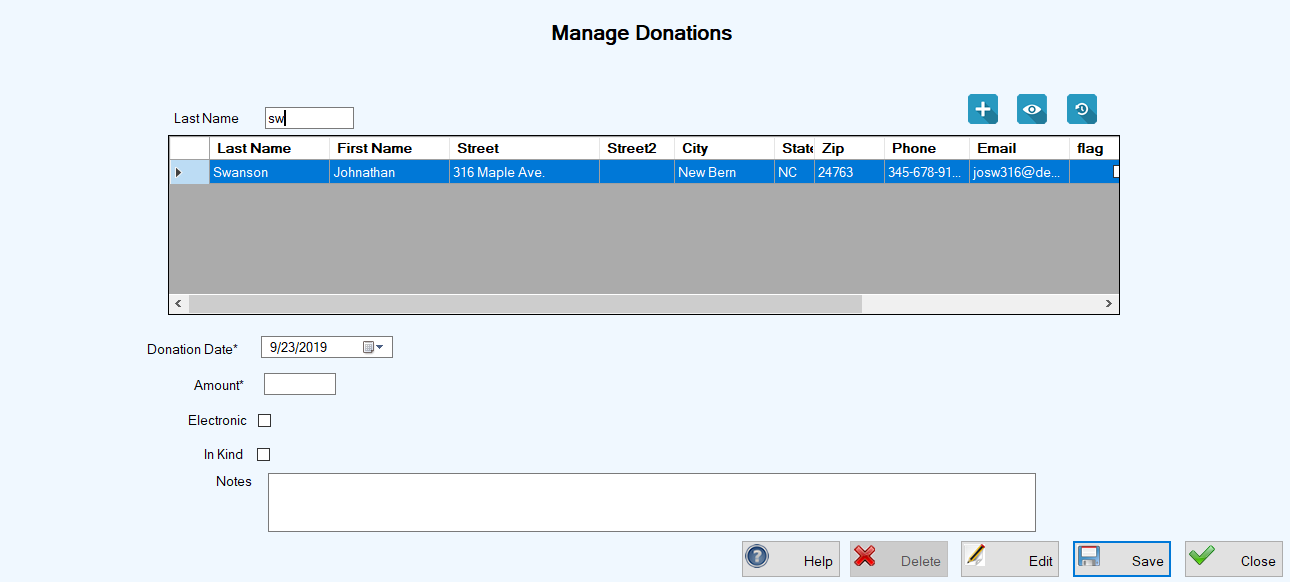
On the TYR Home screen under Modules, click the Donations button. The Manage Donations screen appears, displaying a list of all active PCO records in the center grid and input fields below the grid, ready for your entries.
-
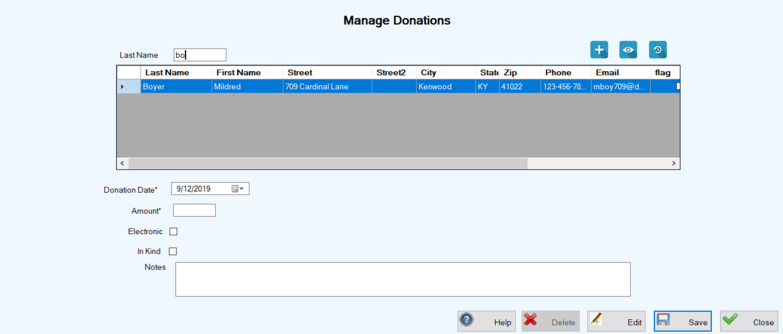
Begin typing the letters of the last name of the donor into the Last Name field above the center grid until the row containing the donor's information appears highlighted.
-
Enter the monetary amount of the donation. (Note: If this is an "In Kind" donation, enter the market value of the donated goods or services.)
-
If the donation was made electronically (online), click to select the "Electronic" checkbox.
-
If the donation was goods or services rather than actual money, click the "In Kind" checkbox.
-
Type any important details in the Notes field. For example, for an "In Kind" donation, enter the description of the donated goods or services and the purpose for which they were, or will be, used; and for a monetary donation made electronically, you might want to indicate the source, such as PayPal or Facebook.
-
Click Save. You are returned to the Manage Donations screen where the row containing the donor's information is still highlighted in the center grid and a confirmation message appears in the lower left corner of the screen.
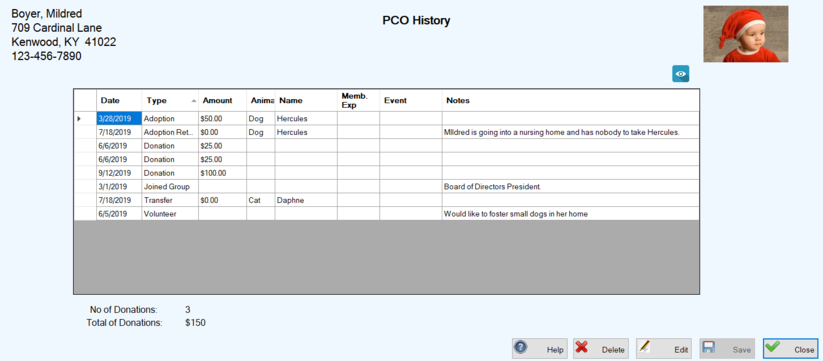
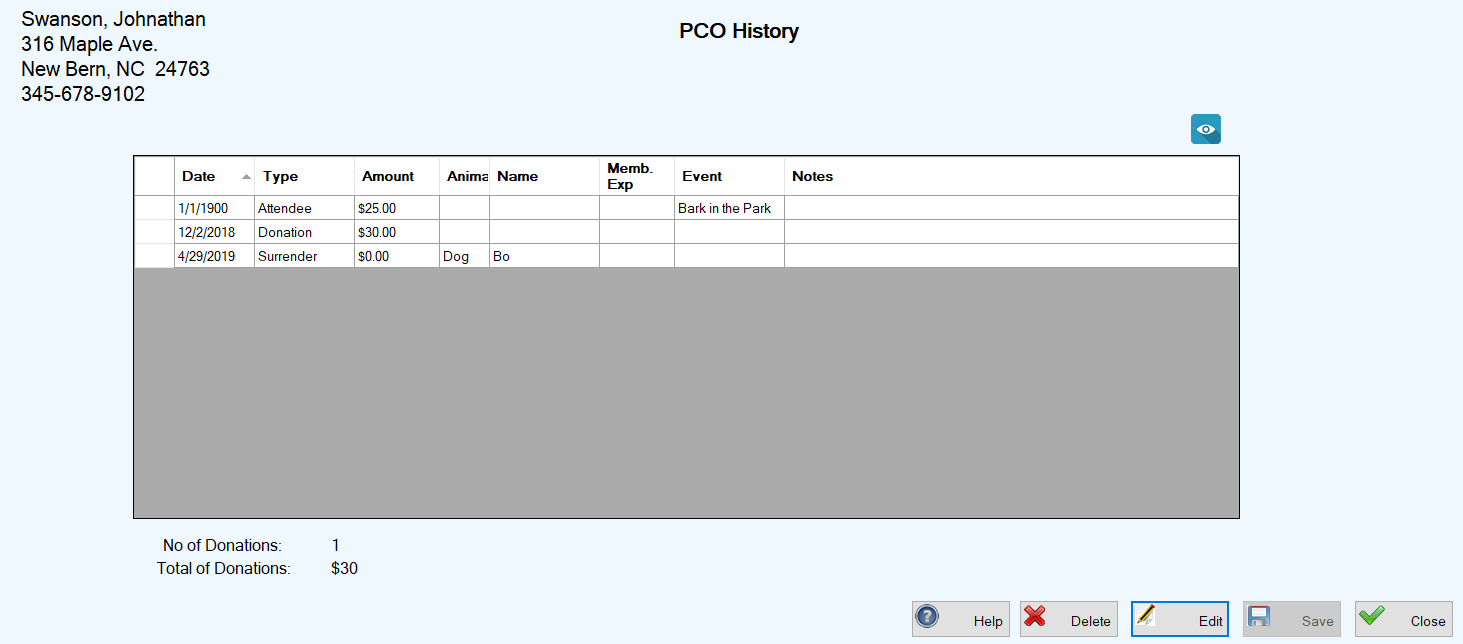
Note: To view details of the donation you just entered, with the PCO still selected in the center grid, click the PCO History button ( )above the grid at the right to launch the PCO History screen that shows a sortable listing of all transactions types entered into TYR for this PCO. The default sorting is chronological by date. You can change the Type column to alphabetical by clicking on the column heading, as shown in this image:
-
On the TYR Home screen under Modules, click the Donations button to launch the Manage Donations screen.
-
In the Last Name field on the left above the center grid, type the letters spelling out the last name of the donor until the name appears highlighted, with an arrow in the leftmost cell.
-
Click the blue PCO History button ()at the right side above the grid. The PCO History screen appears showing all transactions in the system for this PCO.
-
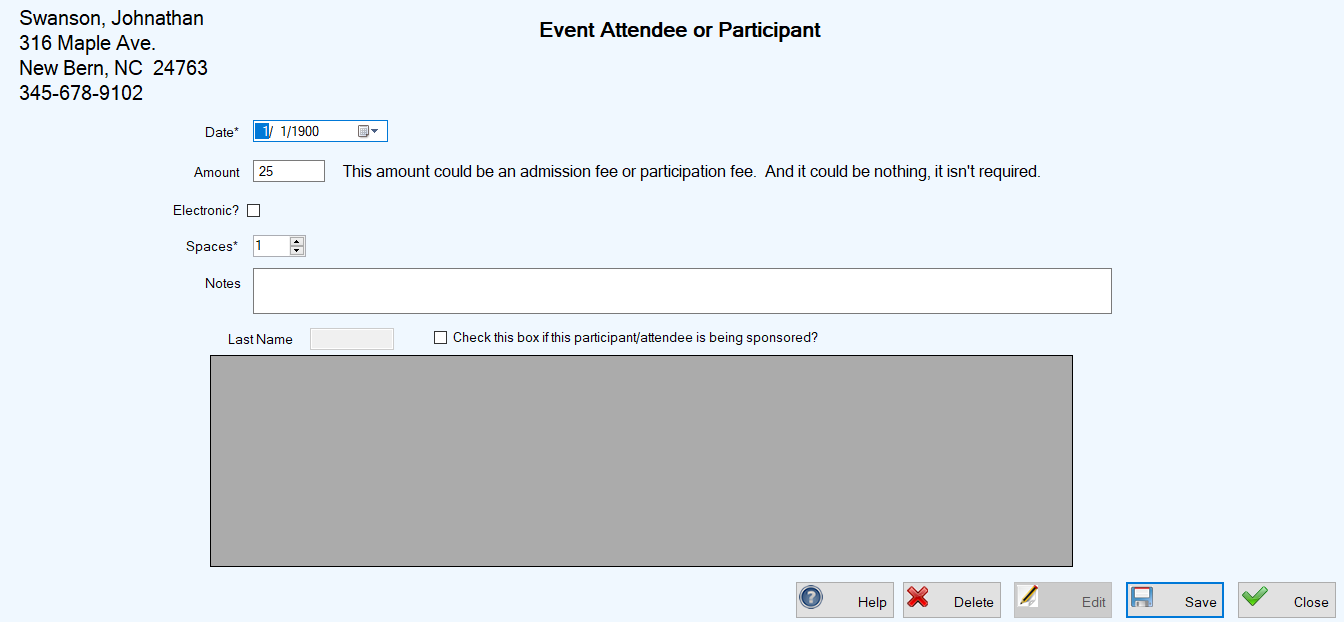
Select the donation you want to edit by double-clicking the leftmost cell on the row containing the donation information in the center grid. The screen that opens depends on the Type of donation you selected. All editable fields are ready for your changes.
-
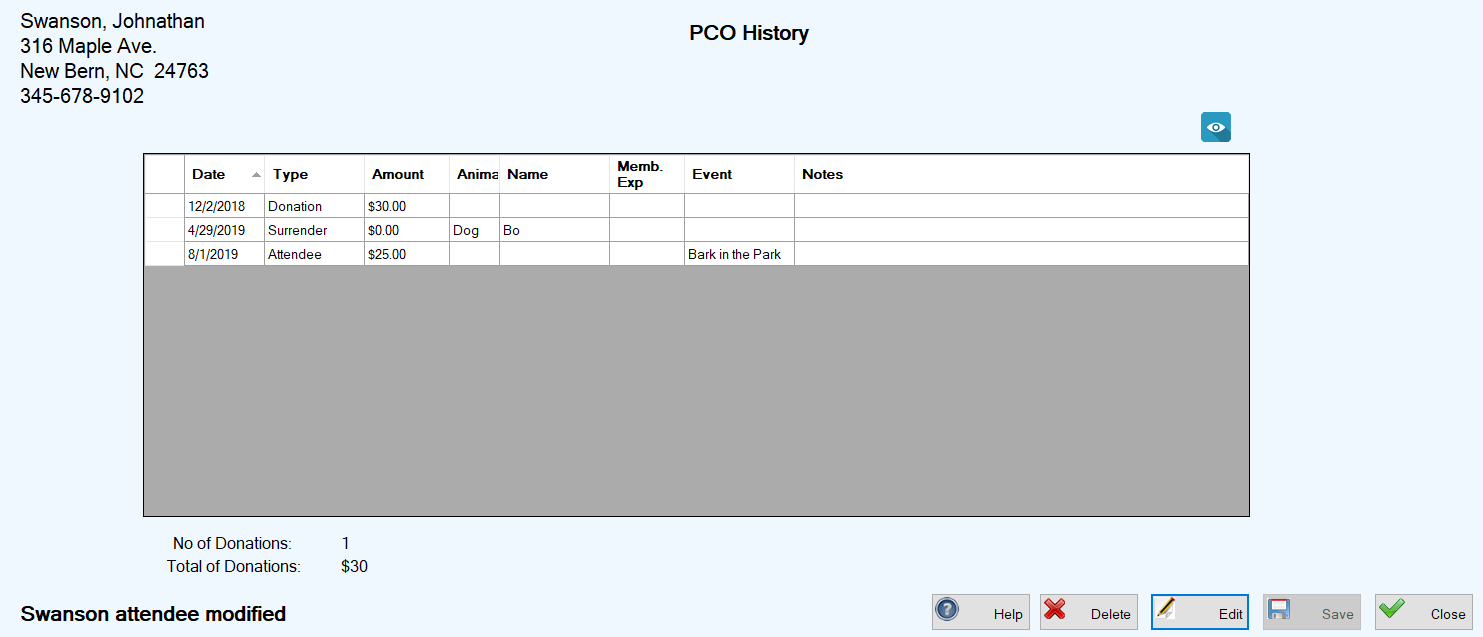
Make the necessary changes and click Save. You are returned to the PCO History screen where your changes appear in the center grid, along with a confirmation message in the lower left corner of the screen.
-
On the TYR Home screen under Modules, click the Donations button to launch the Manage Donations screen.
-
In the Last Name field on the left above the center grid, type the letters spelling out the last name of the donor until the name appears highlighted, with an arrow in the leftmost cell.
-
Click the blue PCO History button ()at the right side above the grid. The PCO History screen appears showing all transactions in the system for this PCO.
-
Select the donation you want to delete by clicking the leftmost cell on the row containing the donation information in the center grid.
-
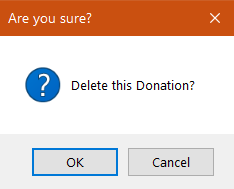
Click the Delete button. You will see a confirmation popup similar to this (wording varies according to donation Type being deleted):
-
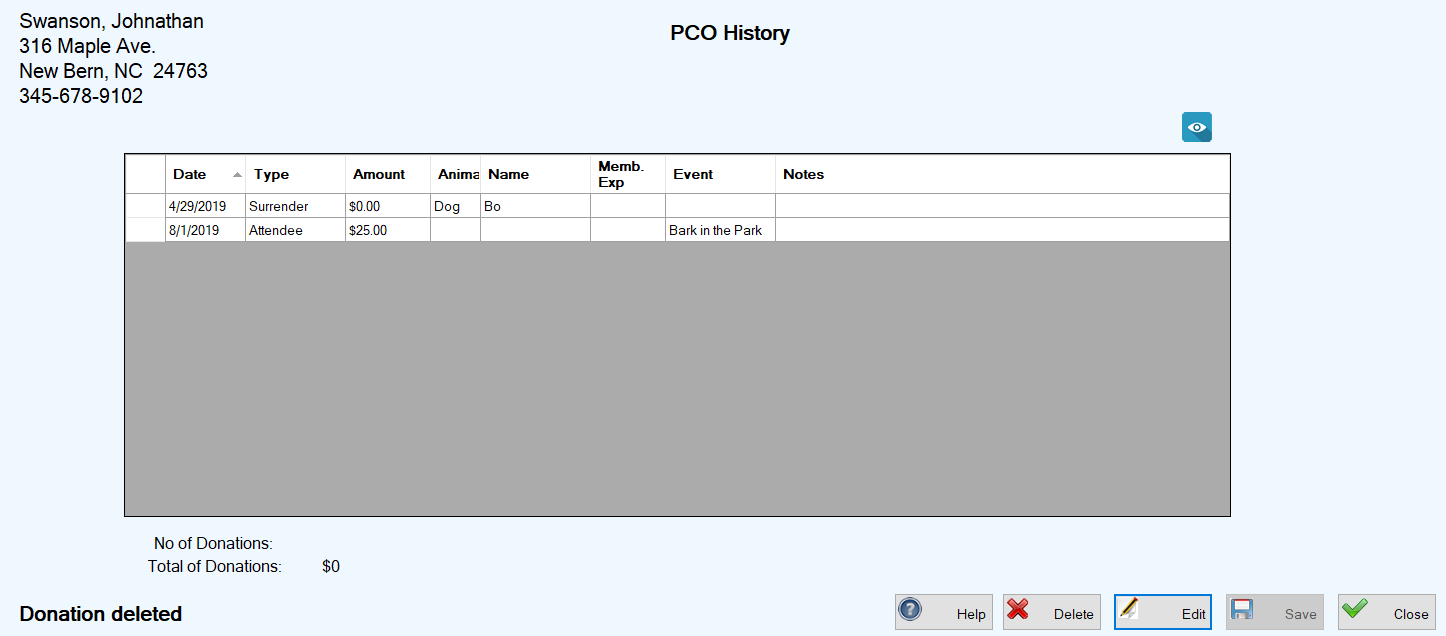
To complete the deletion, click OK. You are returned to the PCO History screen, where the deleted donation has disappeared from the center grid and a confirmation message appears in the lower left corner of the screen.