Inactivating Users
For important technical reasons, the system will not allow you to delete a user. Instead, after you have saved a new user record, you can deactivate it if that user should no longer have access to the system. (Note: For security reasons, we recommend that you always deactivate users as soon as they leave their association with your organization or when they no longer require access to the system.)
To Inactivate a User
-
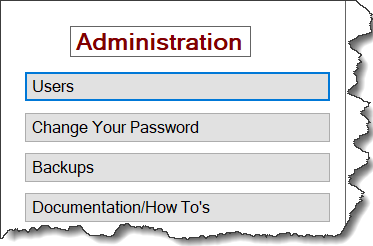
On the TYR Home screen under Administration, click Users.
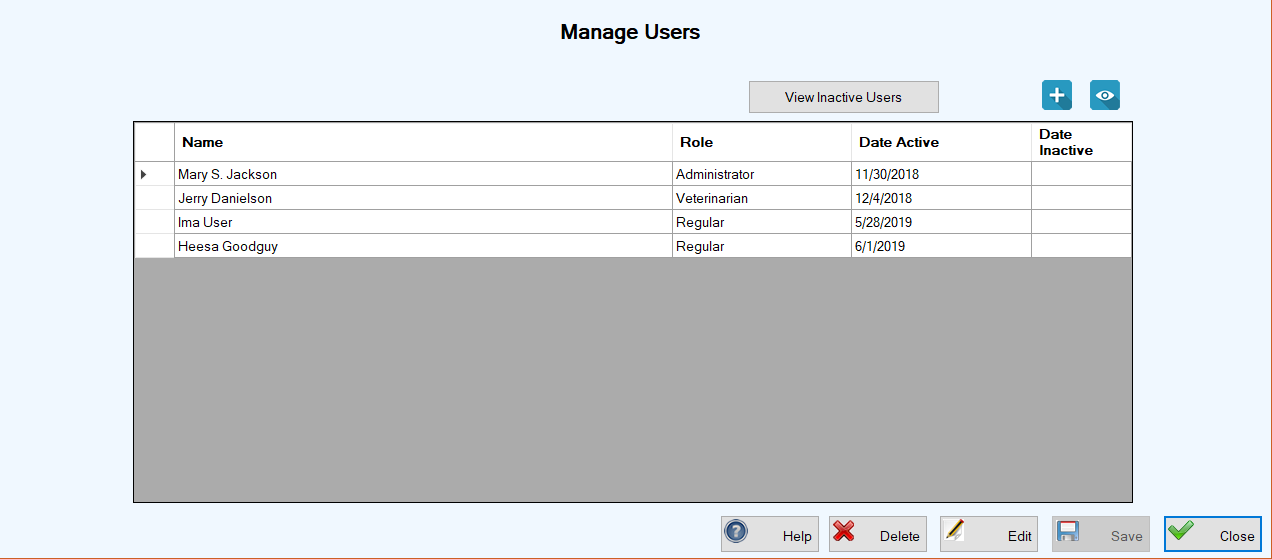
The Manage Users screen appears, showing a list of active users, their roles, and the dates they were added to the system. (Note: To see inactive users, click the "View Inactive Users" button. The center grid will change to show Date Inactive as well as Role and Date Active.)
-
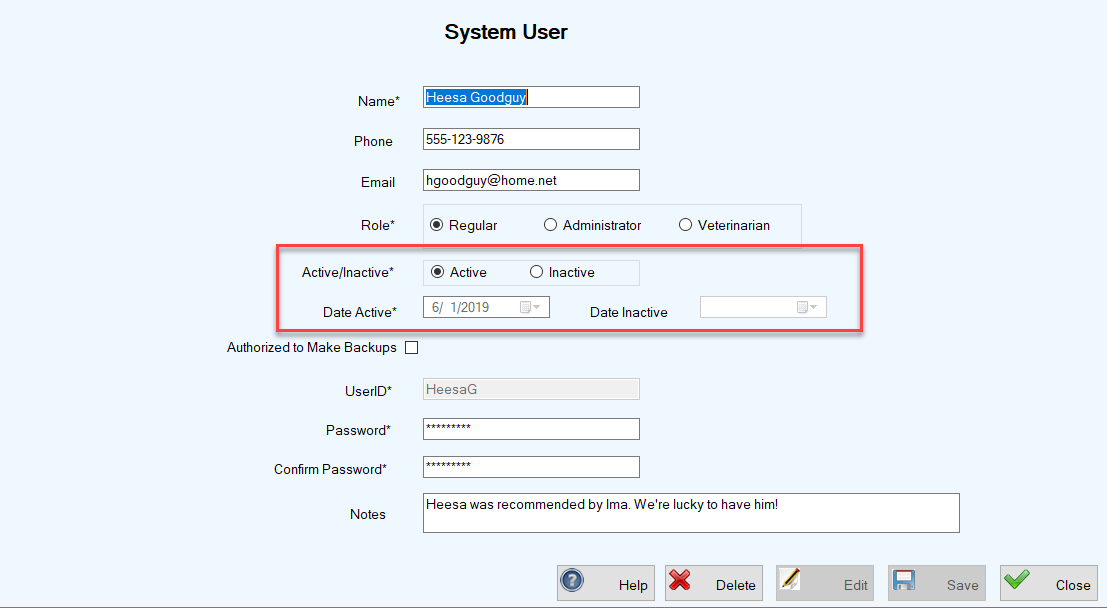
On the Manage Users screen, select the user you want to inactivate by double-clicking the cell at the farthest left of the row containing the user's name. This action opens the System User screen where you can see all the user's details. In the image below, the section inside the red rectangle is where you will make your entries in Step 3.
-
Click Save. The System User screen closes and you are returned to the Manage Users screen. The information for the user you just deactivated will now appear in the center grid only when you click the "View Inactive Users" button.
IMPORTANT NOTE: If you wish to reinstate a former user, you must create a new user record with a different UserID.