Adding & Managing Animal Surrenders for Existing PCOs
When people must give up their animals and cannot find new permanent homes for them, they might bring them to your shelter hoping you can rehome them. When you receive a surrendered animal, TYR enables you to create a special type of intake record.
This page contains instructions for adding, editing, and deleting an Animal Surrender record when a PCO record already exists for the person surrendering the animal.
Note: If no PCO record exists for the person surrendering the animal, follow the procedure for Adding & Managing Animal Milestones, where you can easily add a new PCO record for the surrenderer.
-
On the TYR Home screen, click the People, Companies, Organizations button to launch the Manage People, Companies, and Organizations screen.
-
Use one of these methods to select the PCO who is surrendering the animal:
- With the scroll bar on the right side of the center grid, scroll down until you find the row containing the PCO's information, and then click the leftmost cell on that row.
OR
- In the Show field to the left of the center grid, select People or Companies and Organizations, and then in the Last Name field above the center grid, begin typing the letters of the PCO's last name or organization name until the only item appearing in the center grid is the desired PCO, indicating it is selected because the row is highlighted and has an arrow in the leftmost cell.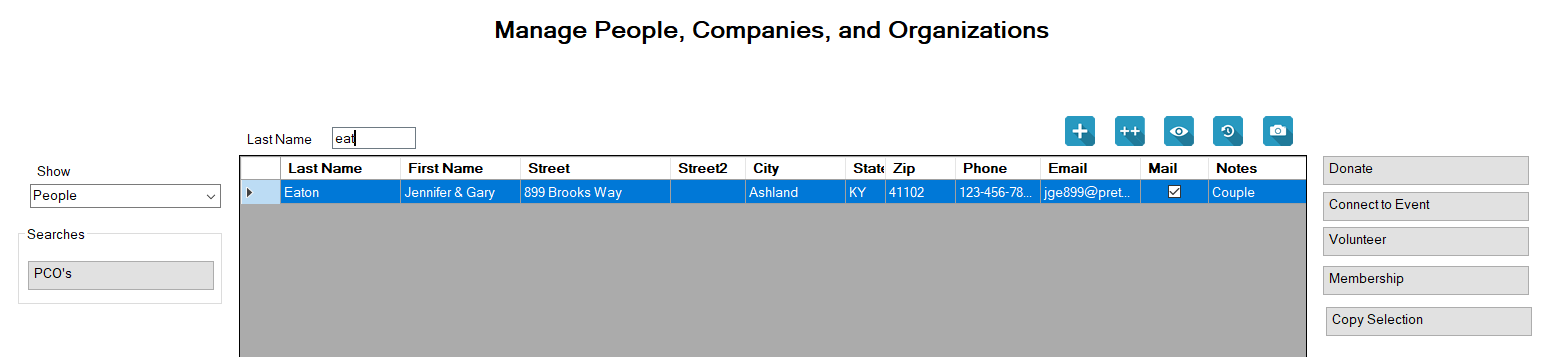
-
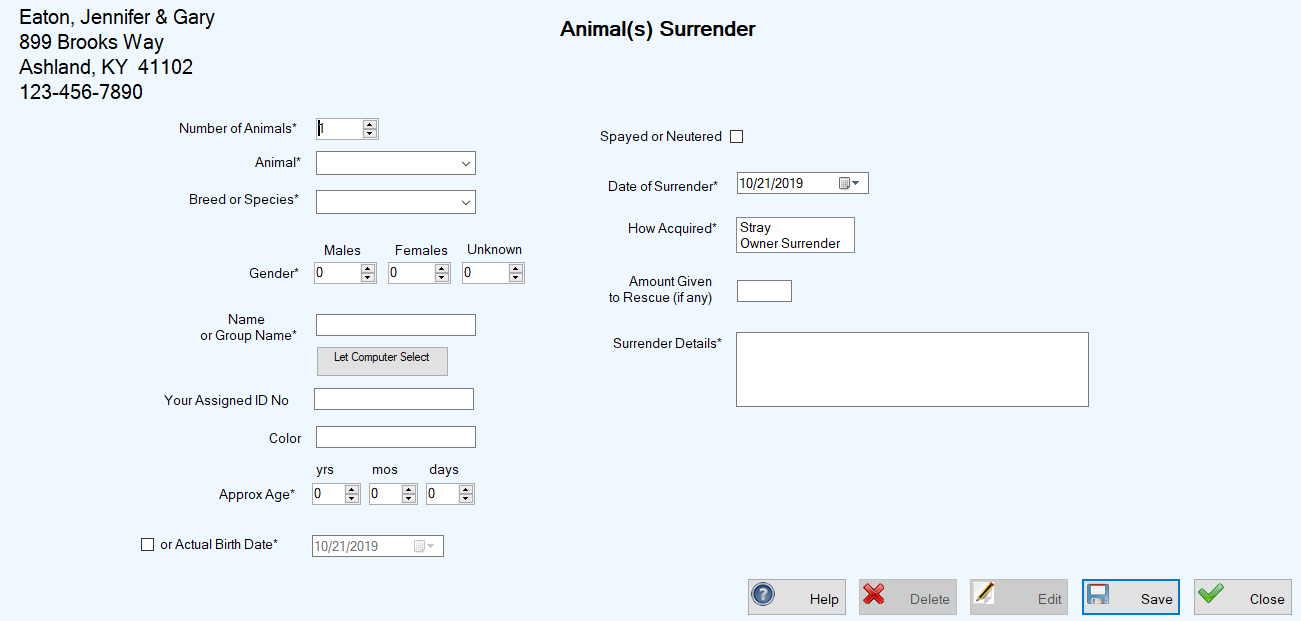
With the desired PCO selected, click the Surrender an Animal button to the right of the center grid under Animal Transactions to open the Animal(s) Surrender screen.
-
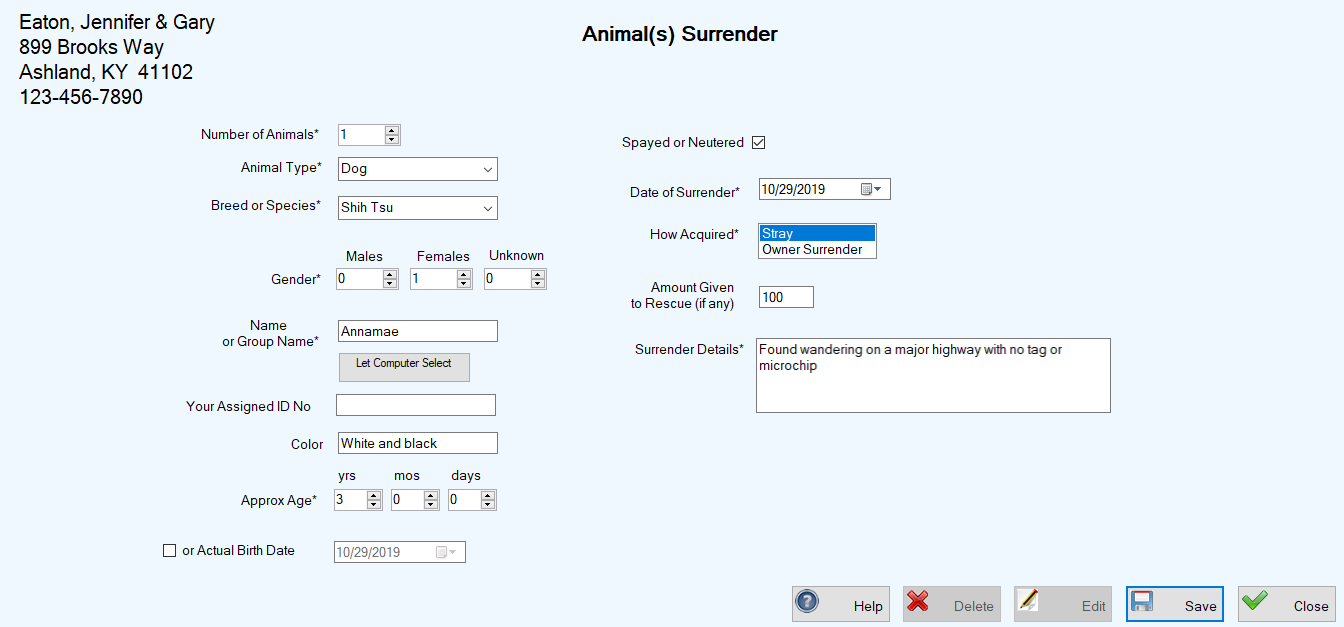
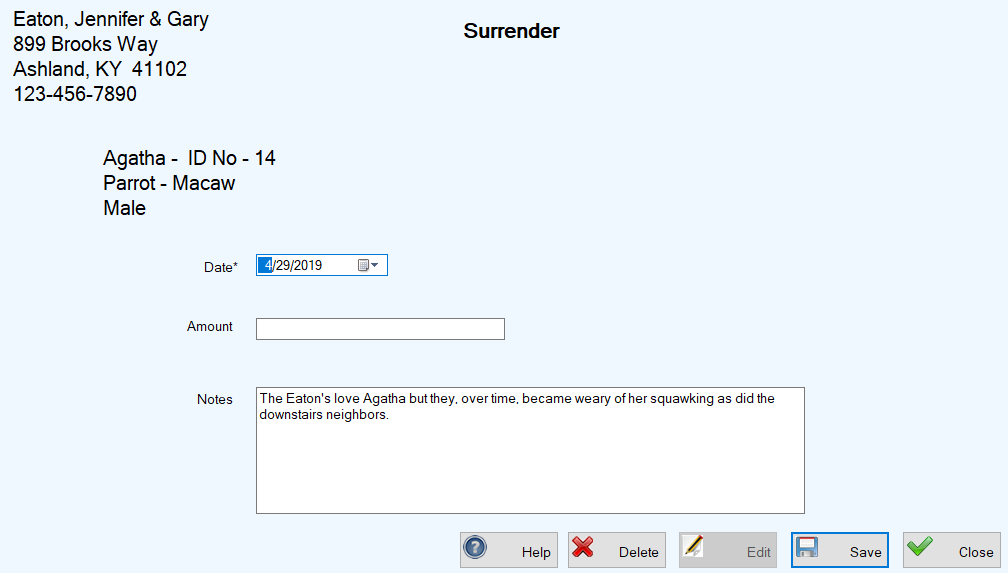
Enter the required information as indicated in the example below.
IMPORTANT NOTES:
You must select the Animal Type and Breed or Species from the dropdown lists in those fields, accessible by clicking the down arrow at the right side of each field. The selections in the dropdown lists come from the Animal Types and Animal Species you set up when you customized your system.- If the Animal Type you need is not in the list, add it by following the procedure for Creating & Managing Animal Types.- If the Breed or Species you need is not in the list, add it by following the procedure for Creating & Managing Animal Species.
-
Click Save. You are returned to the Manage People, Companies, and Organizations screen where a confirmation message appears in the lower left corner. Note: The system also creates a new animal record and adds the information for each surrendered animal to the grid on the Manage Animals screen.
-
Follow Steps 1 and 2 above for Adding an Animal Surrender for an Existing PCO.
-
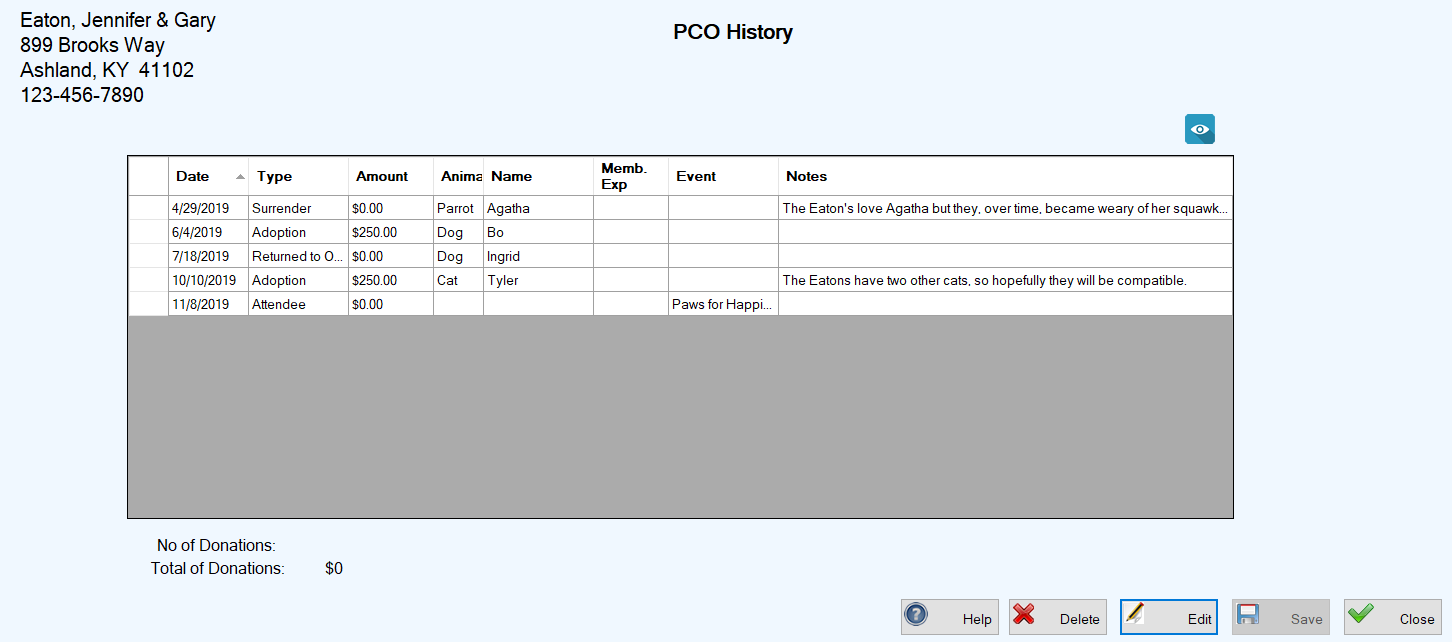
With the desired PCO selected, click the blue History button (
 ) at the top right above the center grid. The PCO History screen appears, showing all recorded transactions for the selected PCO.
-
Select the Surrender transaction you wish to edit by double-clicking the leftmost cell on the row containing the surrender information. The Surrender screen opens, showing all the editable information, ready for your changes.
-
Enter your desired changes and click Save. You are returned to the PCO History screen, where your changes appear in the center grid, along with a confirmation message in the lower left corner of the screen.
-
Perform Steps 1 and 2 for Editing an Animal Surrender Record Using the PCO Screen.
-
Select the Surrender transaction you wish to delete by clicking the leftmost cell on the row containing the surrender information.
-
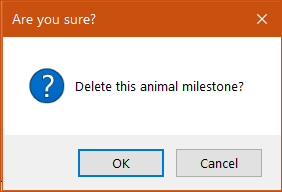
Click the Delete button. A confirmation popup appears:
-
To complete the deletion, click OK. You are returned to the PCO History screen, where the Surrender transacton no longer appears in the center grid, and a confirmation message appears in the lower left corner of the screen.