To help ensure a successful start with TYR, we strongly recommend following the steps listed below in the order presented when setting up your system. (Note: The blue hyperlinks take you directly to an instruction page for that task.)
Add another administrative user. There should be at least two Administrators for your system. (Administrators have access to all system features and records, and are the only users who can add, change, and inactivate other users.)
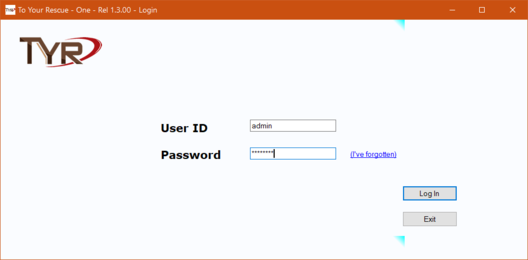
Decide if you want to inactivate the "generic" administrative user included in the installation package. IMPORTANT NOTE: After you create at least one other administrative user in Step 3 above, you can inactivate the Administrator user that was included in the installation package. CAUTION: BEFORE YOU DO THIS, PERFORM STEP 3 ABOVE TO MAKE SURE YOU HAVE AT LEAST ONE OTHER USER DESIGNATED AS AN ADMINISTRATOR! If you decide to continue using the "admin" User ID, make sure you change the password for the Administrator user to something more secure than "password."
TIP: Most of the Customization items create helpful "pick lists" for use on various Animals and People screens throughout the TYR application, saving you keystrokes by not having to type repetitive information.
IMPORTANT NOTE: You can gain significant benefits from using TYR for purposes other than keeping track of animals. For example, you might just want to keep track of donations, events, or membership programs. In that case, you will not need to set up any of the customization items related to animals. However, regardless of your reasons for using TYR, you will definitely need to set up records for people, companies, and organizations (PCOs) because those records are inextricably linked to every other module in the system. It is on the screen for the specific person, business, or organization that you add activities like fostering or adopting an animal, making a donation, attendance at an event, membership in a particular group, and so on. As you work through the Customization section of the Home screen, ignore the buttons that do not apply to your purpose for using TYR. For the buttons that do apply, find the relevant Help pages in the navigation pane to the left of this screen, click the page title, and then follow the instructions contained there.
8. Make a backup of your database. Backing up your database every day to an external location like an external hard drive, flash drive, DVD, or even OneDrive if you have a Microsoft account, is your first line of data security. Wherever you decide to place your backups, make sure that device is always kept in a safe and secure location where it can't be damaged or destroyed and can always be accessed.
IMPORTANT NOTE REGARDING BACKUPS: The primary purpose for backing up your database to an external location outside of your computer is in case your computer crashes. If the hard drive fails, you will NOT be able to retrieve your backup. Therefore, DON'T store the backup on your computer's hard drive. Always remember that restoring the TYR application and your database is easy if you have an accessible copy of your database.
What's next?
Once you have completed all these steps, you will be well-equipped to move into the other parts of the application. Decisions about what to do next are yours. Remember, TYR has many features, but you only need to set up and use those features that are applicable to your needs.