Creating & Managing Vaccines in Inventory
If you run an animal rescue or shelter where you store and administer some of the animals' vaccinations yourself, TYR provides this Customization feature to save you keystrokes when entering those vaccinations in animal records. In TYR's Shelter Vaccine list, you can keep a record of the kind of vaccine, the Animal Type for which the vaccine is intended, and the vaccine's manufacturer, serial number, and expiration date.
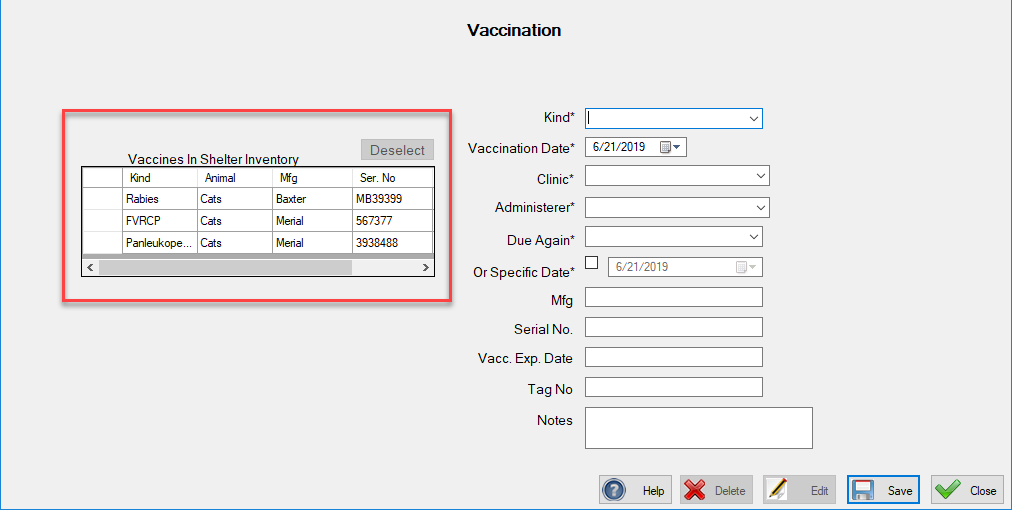
In this image of the Vaccination screen you will use to enter vaccinations for specific animals, the area highlighted by the red rectangle shows how this Customization feature applies:
This page contains instructions for adding, editing, and deleting details about the vaccines you keep in inventory.
To Add a Vaccine to the List of Vaccines in Inventory
-
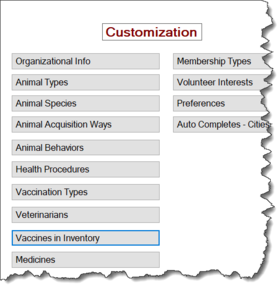
On the TYR Home screen, click Vaccines in Inventory in the Customization section.
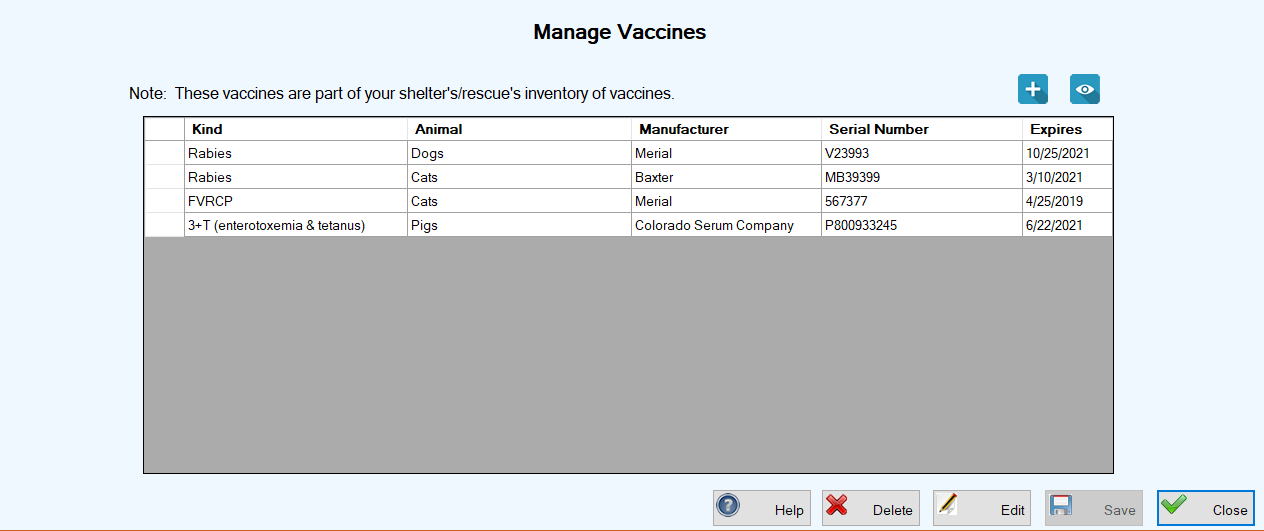
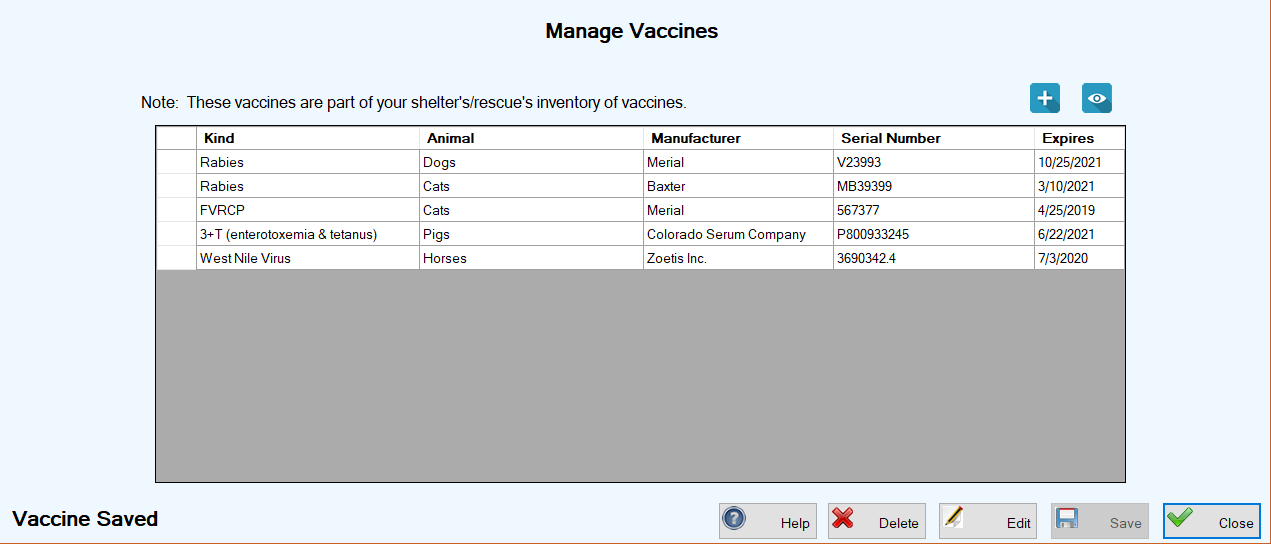
The Manage Vaccines screen opens. If you have already added vaccines to this list, they will appear in the center grid.
-
Click the blue Add button (
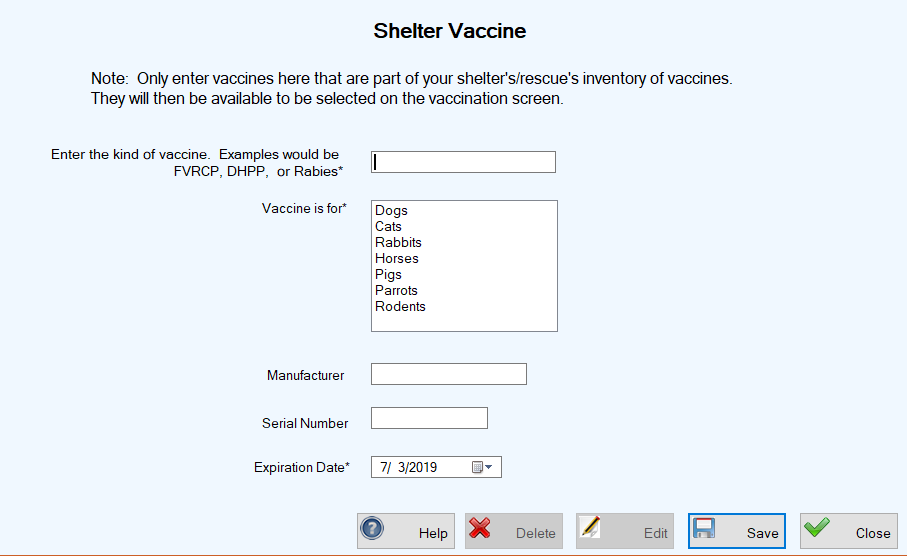
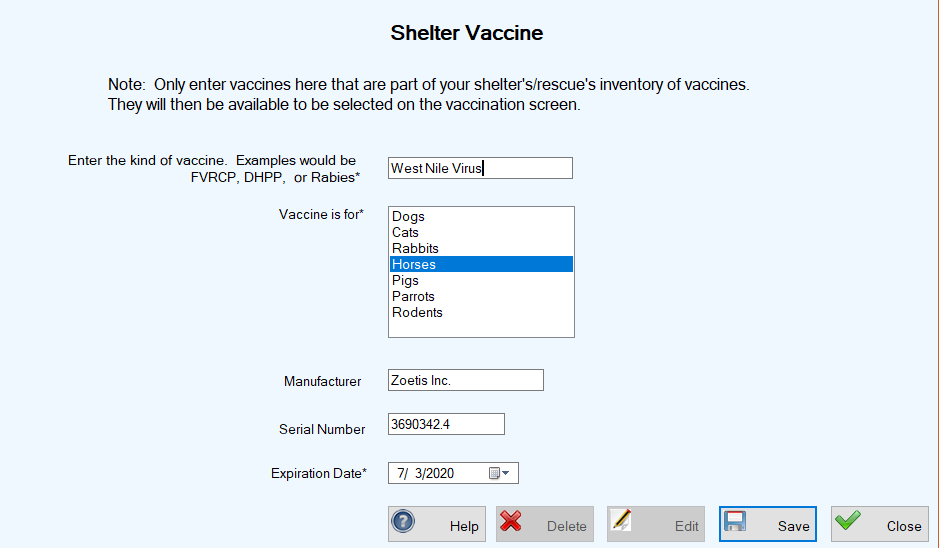
 ). The Shelter Vaccine screen appears, with an important note at the top about the purpose of this TYR feature.
-
Type in the kind of vaccine, e.g., 3+T (enterotoxemia + tetanus).
-
In the Vaccine is for box, click the Animal Type for which the vaccine is intended.
-
In the Manufacturer field, enter the name of the company that made the vaccine.
-
In the Serial Number field, enter the serial number that appears on the vaccine's packaging or bottle.
-
In the Expiration Date field, type in or use the Date Picker tool to select the expiration date that appears on the vaccine's packaging or bottle. (Note: You can also type in the date using the format shown in the image below.) Your Shelter Vaccine screen should now look similar to this one:
-
Click Save. The Shelter Vaccine screen closes and you are returned to the Manage Vaccines screen where you can see the new vaccine information in the center grid and a confirmation message in the lower left corner.
Top of page
To Edit a Vaccine in the List of Vaccines in Inventory
-
On the TYR Home screen, click Vaccines in Inventory in the Customization section to reach the Manage Vaccines screen.
-
On the Manage Vaccines screen, double-click the cell at the farthest left of the row containing the item you want to edit. The Shelter Vaccine screen opens, with all fields ready for editing.
-
Make your desired changes and click Save. The Shelter Vaccine screen closes, returning you to the Manage Vaccines screen where you can see your changes in the center grid, along with a confirmation message in the lower left corner.
Top of pageTo Delete a Vaccine from the List of Vaccines in Inventory
-
On the TYR Home screen, click Vaccines in Inventory in the Customization section to reach the Manage Vaccines screen.
-
On the Manage Vaccines screen, select the row containing the item you want to delete by clicking the empty cell at the farthest left of the row.
-
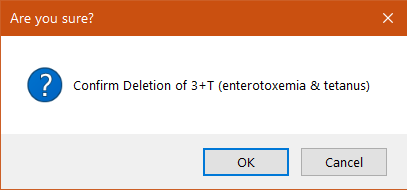
Click the Delete button. A popup window appears to confirm that you really want to delete the item.
-
To complete the deletion, click OK. You are returned to the Manage Vaccines sceen, where the vaccine you deleted is gone from the center grid, and a confirmation message appears in the lower left corner.
Top of page